
How Do I Build an Outdoor Kitchen?
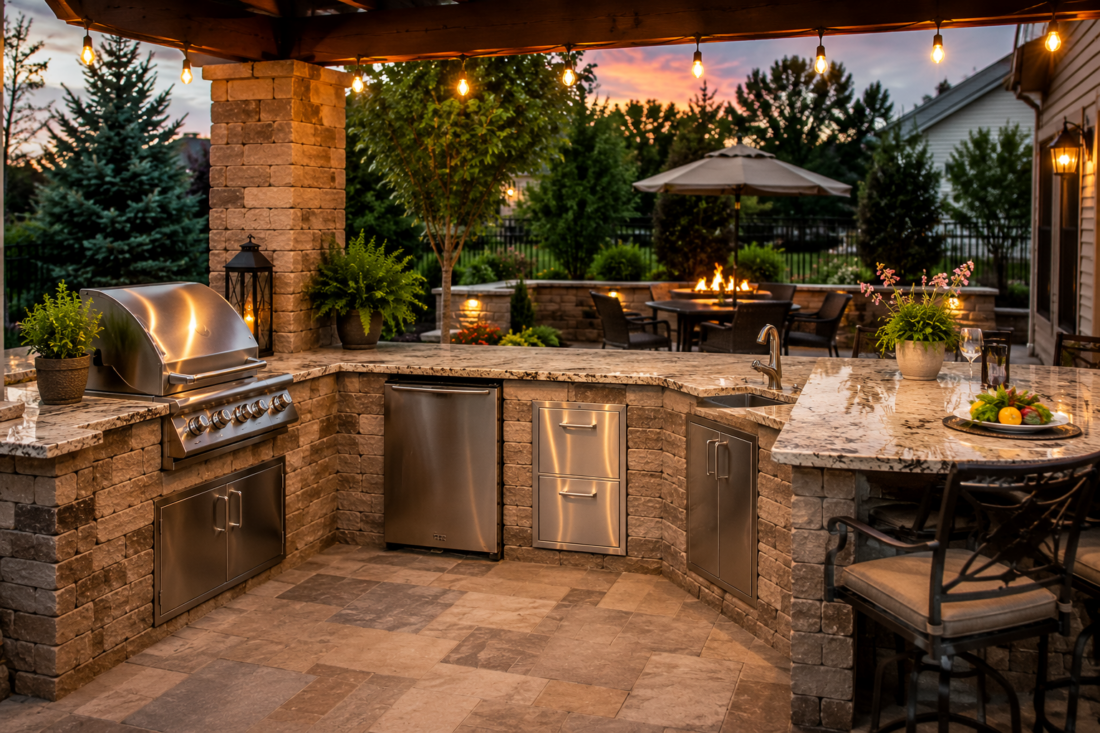
Building an outdoor kitchen can transform your backyard into the perfect place for cooking, entertaining, and relaxing. Learn how to plan, design, and build an outdoor kitchen that fits your lifestyle and budget.
Building an outdoor kitchen is one of the highest-value backyard upgrades you can make — but it's also one of the easiest to get wrong. Between plumbing, gas lines, weatherproof materials, and layout planning, there's a lot more to it than just setting a grill on a patio. This guide walks through the entire process, step by step, so you can plan a space that actually holds up and gets used for years.
Quick Answer
To build an outdoor kitchen: pick a location near your indoor kitchen or main gas/water lines, choose a layout (straight, L-shaped, or U-shaped), select weatherproof materials, plan your utilities (gas, electric, water) before construction starts, build the frame and countertops, then install appliances last. Most projects take 4–8 weeks and cost between $6,000 and $30,000+ depending on size and finishes.
Step 1: Choose the Right Location
Location drives almost every other decision in the project, so start here.
- Stay close to utility lines. Running gas, water, and electrical lines is one of the biggest cost drivers. A kitchen built near your home's existing lines will cost significantly less than one built at the far end of the yard.
- Consider wind direction. Position the cooking area so smoke blows away from seating and doorways, not into them.
- Check for covered vs. uncovered space. A covered patio or pergola protects appliances and cabinetry from rain and sun, extending the life of the whole kitchen.
- Leave clearance. Building codes typically require several feet of clearance between grills/cooktops and any structure or combustible material — check your local code before finalizing placement.
Step 2: Pick a Layout
Your layout depends on yard shape, how many people will use the space, and what appliances you want.
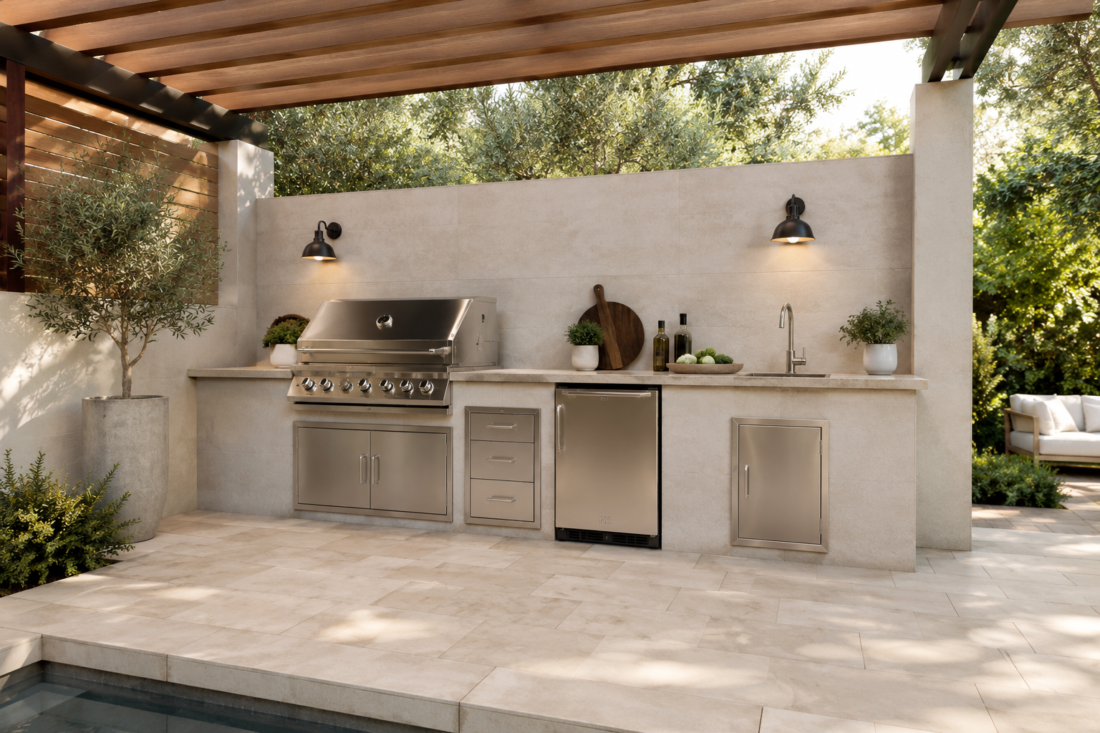
- Straight-line layout – Best for small spaces or tight budgets. Everything sits along one wall.
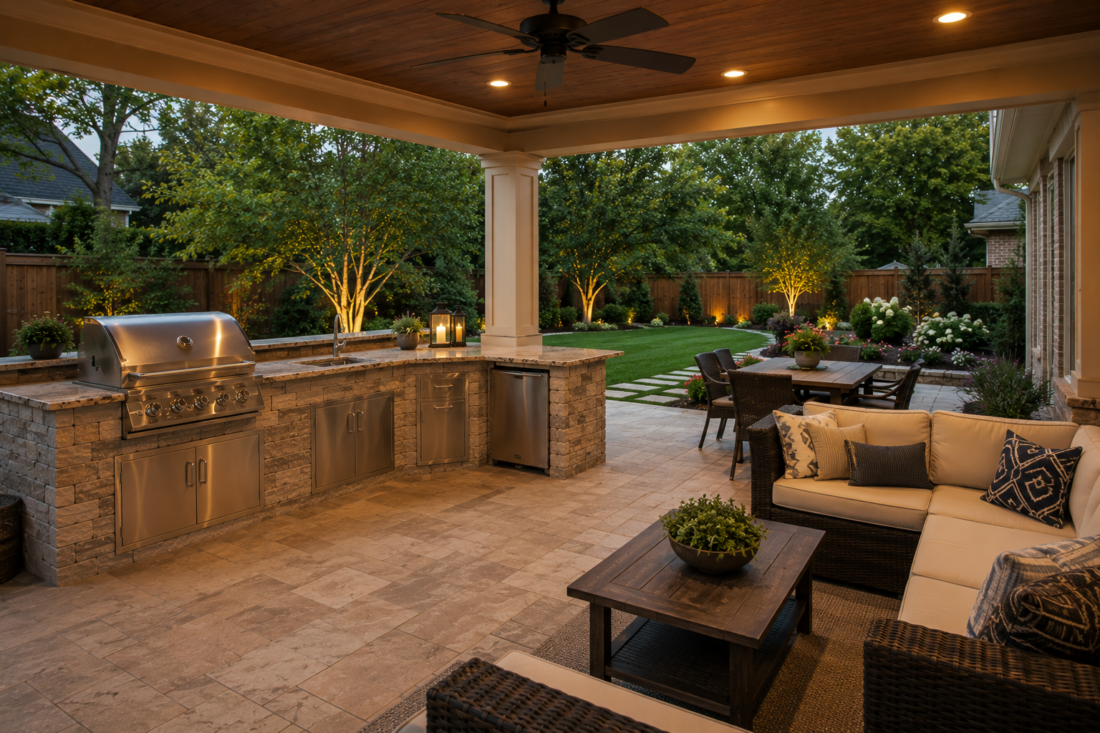
- L-shaped layout – Adds a corner for prep space or seating without needing a large footprint.
- U-shaped layout – Best for larger yards and serious entertaining; allows a cook, a bar area, and a prep zone all at once.
- Island layout – A freestanding kitchen with no wall attachment, popular when the kitchen is the centerpiece of the yard rather than tucked against the house.
Step 3: Plan Your Utilities Before You Build
This is the step most DIYers underestimate — and the one most likely to require a licensed professional.
- Gas line: Needed for built-in grills, side burners, and pizza ovens. Must be sized correctly and typically requires a permit.
- Electrical: Needed for lighting, outlets, refrigerators, and any powered appliance. Outdoor-rated, GFCI-protected circuits are required by code in most areas.
- Water/drain line: Needed if you're adding a sink. Requires both a supply line and proper drainage, and often a shut-off valve for winterizing.
Run all lines and rough-ins before framing and countertops go in — retrofitting utilities after the structure is built is far more expensive. Gas line and plumbing work is also where most local permitting requirements come into play — the International Code Council has a helpful breakdown of how outdoor kitchens are treated under residential code.
Step 4: Choose Weatherproof Materials
Outdoor kitchens take a beating from sun, rain, and temperature swings, so materials matter more here than in an indoor kitchen.
- Frame: Concrete block, steel stud framing, or brick — avoid untreated wood framing, which warps and rots outdoors.
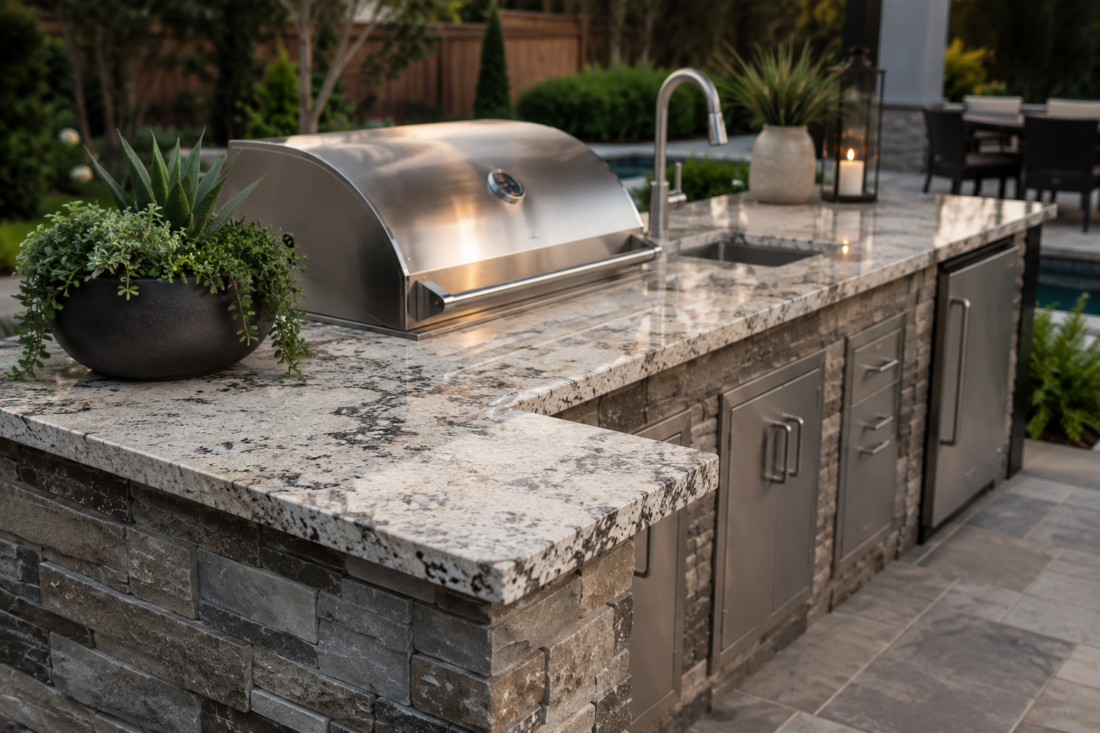
- Countertops: Granite, concrete, or high-grade porcelain hold up best. Avoid natural stones that stain or crack in freeze-thaw climates.
- Cabinetry: Marine-grade polymer or stainless steel resists moisture; standard cabinetry will deteriorate within a season or two.
- Flooring: Stamped concrete, pavers, or natural stone provide slip resistance and drainage.
Step 5: Install Appliances and Finishing Touches
Once the structure, utilities, and countertops are in place, install appliances last to avoid damage during construction:
- Built-in grill or cooktop
- Refrigerator or beverage cooler
- Sink and faucet
- Storage drawers and cabinets
- Lighting (task lighting over the cook space, ambient lighting for seating areas)
- Bar seating or a dining area
Costs vary by region, material choice, and local labor rates. Get at least two to three local quotes before budgeting your final project.
Common Mistakes to Avoid
- Skipping the permit process for gas or electrical work — this can create major issues when selling the home later.
- Building too far from existing utility lines, which inflates cost dramatically.
- Using indoor-rated appliances or cabinetry, which fail quickly outdoors.
- Underestimating counter and storage space, leaving no room for prep or serving.
- Ignoring wind and smoke direction, which makes the space unpleasant to actually use.
Skip the Headache: Hire a Professional
By this point it's probably clear that a real outdoor kitchen involves a lot more than picking out a grill — permits, gas and electrical work, weatherproof materials, and a layout that actually functions all have to come together correctly the first time. If you'd rather skip the guesswork (and the risk of a failed inspection or a countertop that cracks after one winter), JC's Landscaping has been designing and building high-end outdoor living spaces across the DFW metroplex for over 30 years. Our team handles the full project from design to installation — layout, hardscaping, lighting, and materials — so you get a professionally built outdoor kitchen without managing every detail yourself. Go to our Landscaping Design and Installation service page for details.
Frequently Asked Questions
How much does it cost to build an outdoor kitchen? Most outdoor kitchens cost between $6,000 and $30,000, depending on size, materials, and how much gas/electrical/plumbing work is required. Basic grill islands can cost as little as $3,000, while high-end kitchens with pizza ovens and full bars can exceed $50,000.
Can I build an outdoor kitchen myself? Framing, countertops, and finishing work are DIY-friendly for experienced homeowners. Gas lines, electrical circuits, and plumbing typically require a licensed contractor and a permit, since mistakes here can create safety hazards.
What is the best material for an outdoor kitchen? Concrete block or steel-stud framing, paired with granite, concrete, or porcelain countertops and marine-grade polymer or stainless-steel cabinetry, hold up best against sun, rain, and temperature swings.
Do I need a permit to build an outdoor kitchen? In most areas, yes — any project involving a new gas line, electrical circuit, or plumbing typically requires a permit and inspection. Check with your local building department before starting.
How long does it take to build an outdoor kitchen? Most outdoor kitchen projects take 4 to 8 weeks from planning to completion, depending on the complexity of utility work and whether materials are custom-ordered.
Final Thoughts
An outdoor kitchen is a long-term investment, not just a weekend project. Planning your location, utilities, and materials correctly from the start will save you thousands in rework and give you a space that holds up for decades. If gas, water, or electrical work is involved, it's worth bringing in a licensed contractor for that portion even if you handle the rest yourself.
Request a Free Quote
Get a customized estimate for your project.
Get Free Quote (972) 571-7899Why Choose Us
- 20+ years experience
- Licensed & insured
- Free estimates
- 100% satisfaction guarantee
- Locally owned & operated
Service Areas
Frisco, Plano, McKinney, Dallas, Allen, Carrollton, Melissa, Lewisville, Grapevine, Little Elm, The Colony, Prosper, Celina, Castle Hills, Fort Worth
Ready to Get Started?
Contact us today for a free estimate on your project.